

I’ve always had a lot of trouble with the WordPress email system. Whether it’s dropping emails, not receiving emails, emails ending in spam, not authenticating with Gmail, DNS records being incorrect, a lot can and has gone wrong. Most guides out there give you a generic SMTP plugin to install and say that should solve it. Sometimes that works and other times it doesn’t.
After combing through guides and tutorials, trying out a number of them, and a lot of them failing, I found a method that actually works. It takes a little more time setting up, but it is easily more efficient and comprehensive than the other methods.
The Service

Mailgun is an email system specifically built for developers. There’s no traditional user portal to read and write emails. You use the API to build the service into your site. The free tier limits you to 10,000 emails per month which satisfy most small business requirements, and you’re not charged extra for each individual email address ( info@google.com, admin@google.com, etc). With how seamlessly it works I’m surprised that I haven’t heard more people talk about the service.
The Plugin

There are a number of WordPress plugins that will accept and use Mailgun including one developed by Mailgun themselves. The one I chose is WP Mail SMTP. It allows you to switch between different services (Sendgrid, Gmail, custom, etc) if you choose to do so down the road.
Main Steps
You can find a detailed documentation here (documentation from the Mailgun site).
1. Create a Mailgun account and add a domain
It’s free and takes 57 seconds. (link)
2. Create the necessary A, CNAME, TXT, and MX records Mailgun tells you
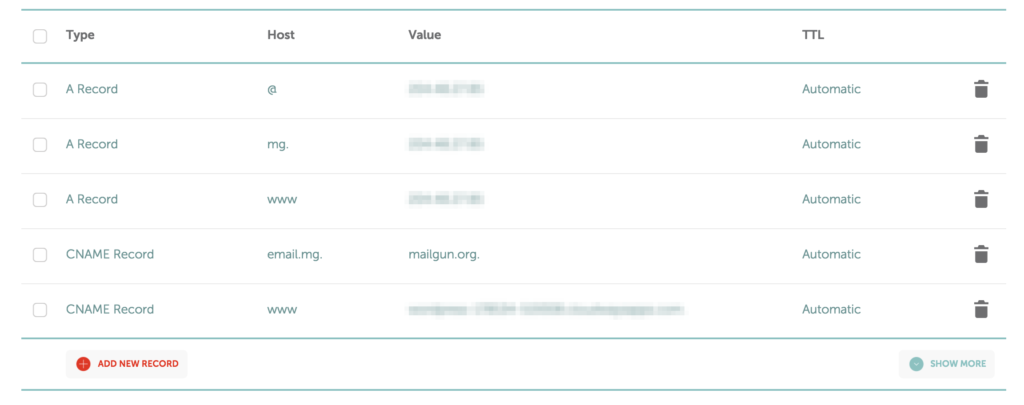 Once you list a domain, Mailgun will give you the a set of records. Use your domain manager to copy and paste those records for your domain. It is recommended to use a subdomain instead of the root. You can do this by creating an A record with the subdomain as the host. Emails will still be sent as the root domain.
TXT records are required to verify your domain and send emails. MX records allow you to receive emails. And a CNAME record allows you to track opens, clicks, and unsubscribes.
3. Double check your configuration and verify your domain
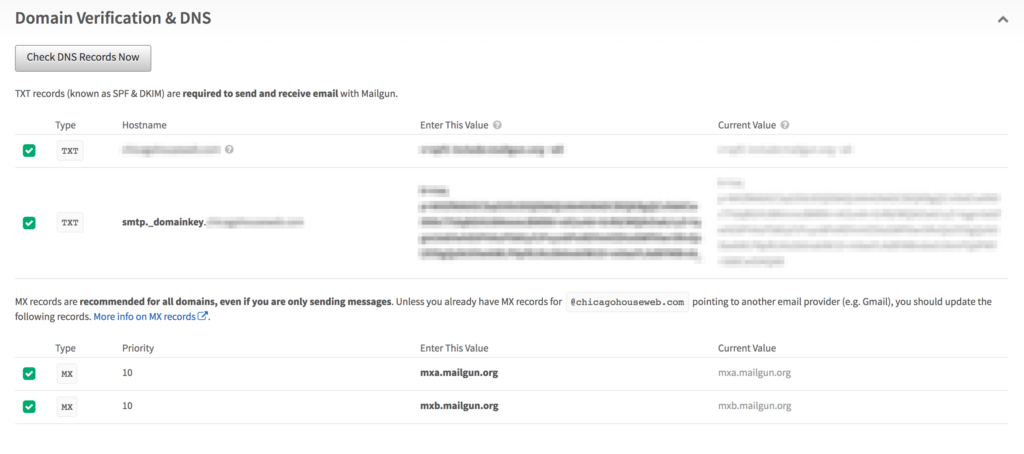
Some servers require you to use @ instead of your root while others require you to leave it empty. It might take 24 to 48 hours to verify. You can refresh the domain verification page to check.
4. Install a Mailgun plugin of your choice and copy and paste your API key and domain
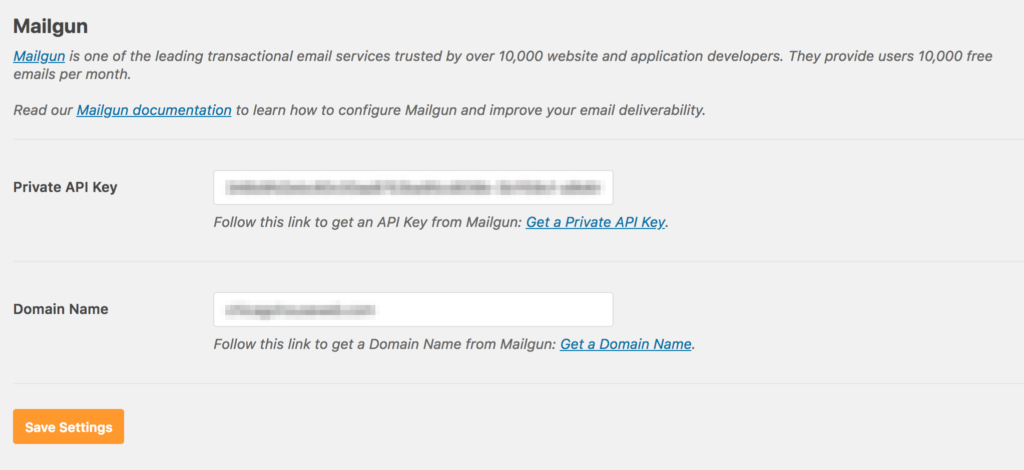
Once, verified Mailgun will give you a private API key that you can then use to pass to the plugin or email service of your choice. (WP Mail SMTP)
5. Configure your email routes
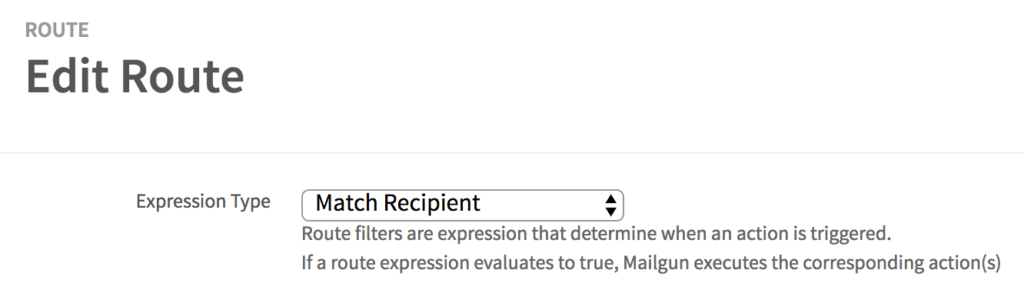
You can filter and route your email how you wish. The system uses expressions.
For example, for emails sent to foo@bar.com
match_recipient("foo@bar.com")
Or for all incoming email under @bar.com
match_recipient(".*@bar.com")
You can create forward rules, block, spam, triggers rules.
You’re good to go!
I encourage you to look through Mailgun’s user manual. The capability of Mailgun outlined here just scratches the surface.
Conclusion
While using Mailgun to manage your WordPress email takes a bit longer to set up, the convenient, transparent, and the mystery free solution it provides is well worth the zero dollars. Emails send almost immediately, they don’t land in my spam folder, and you can track your emails. What more can you ask for?
Really this is awesome information thanks for share.